Device settings
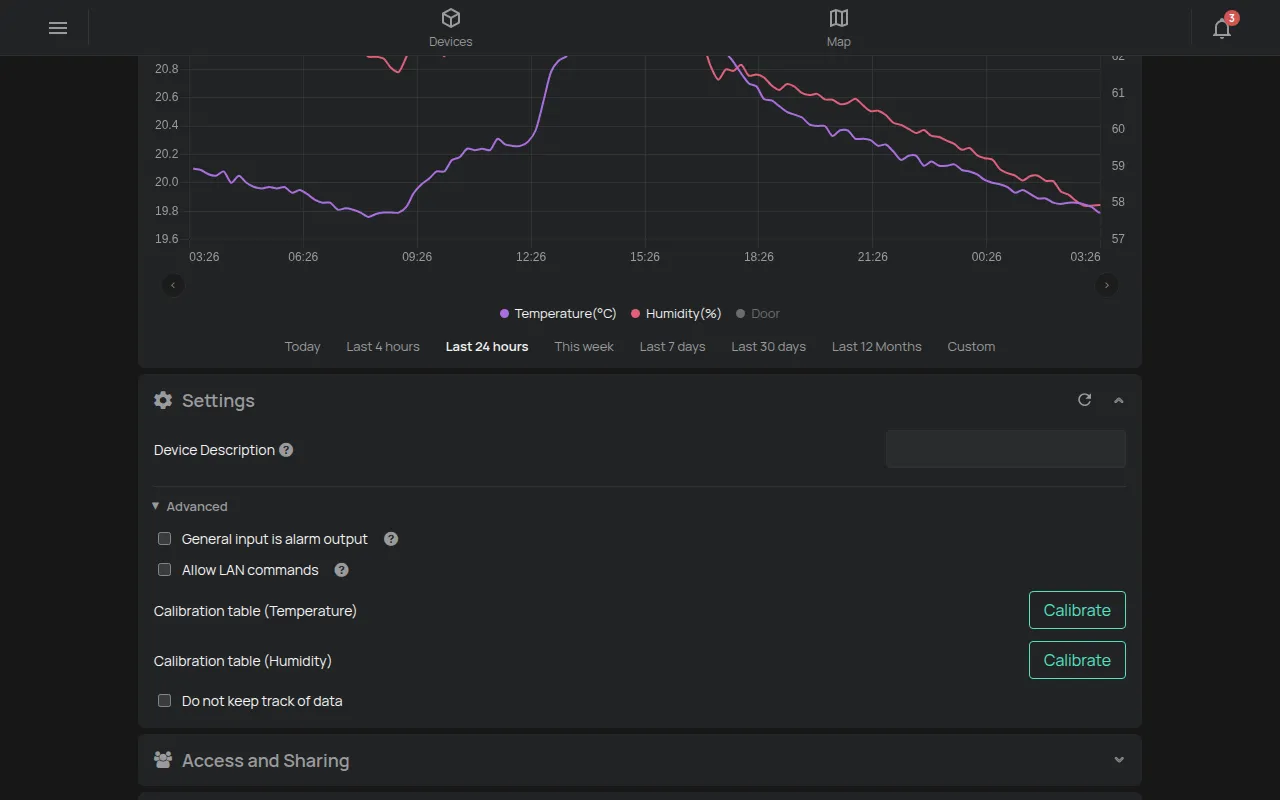
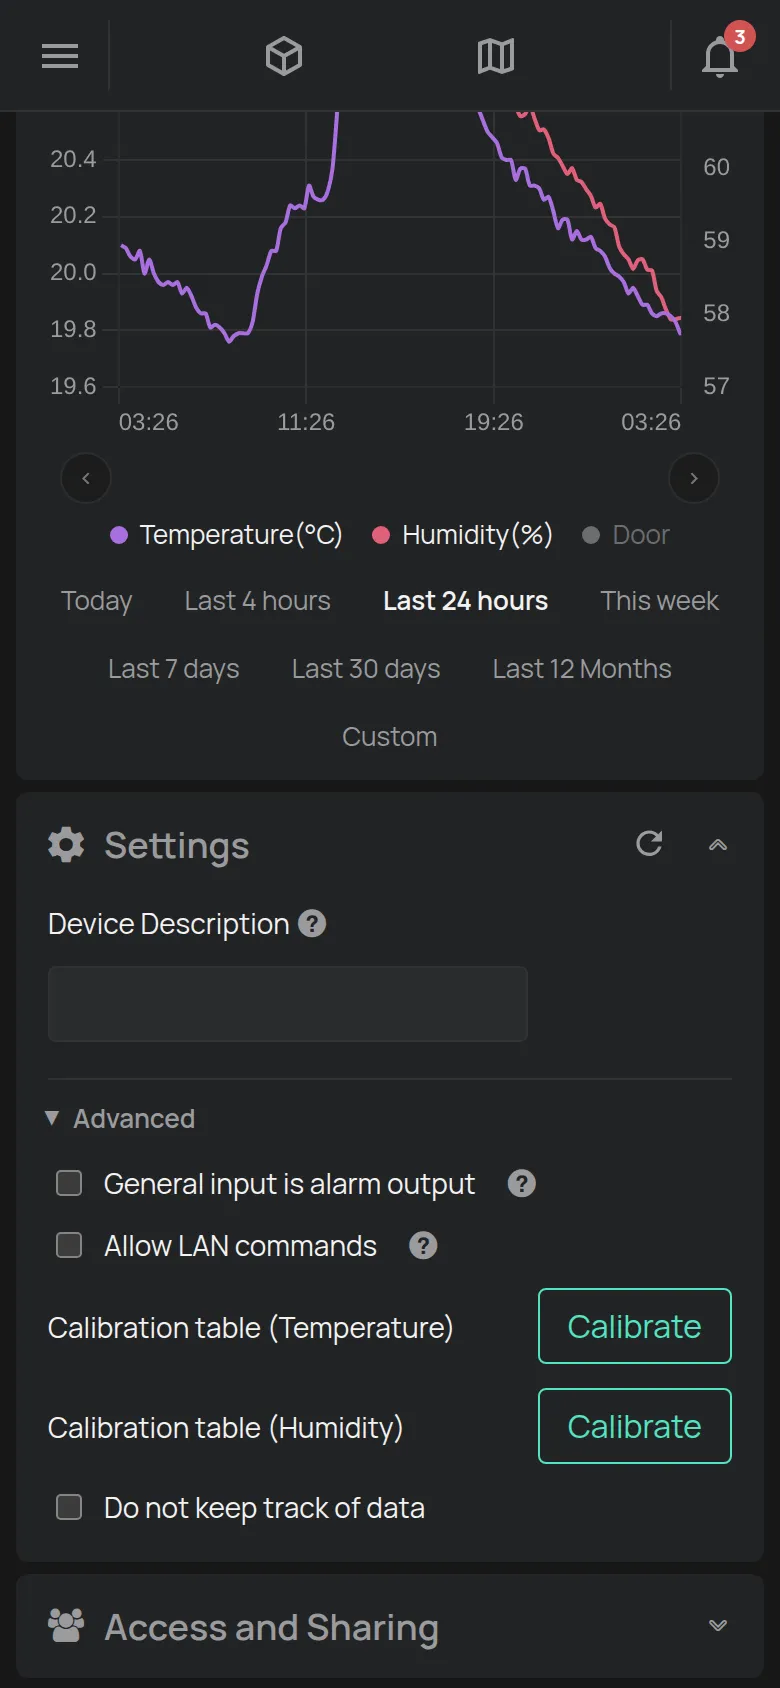
The settings of a device are in the Settings section of the device page. Each product has its own settings.
You need: Manage or owner access to the device. See sharing.
Change a setting
Section titled “Change a setting”- Open the device page.
- Click the Settings section to open it.
- For the less frequent settings, click Advanced.
- Change the value.
The app saves each change immediately. There is no save button. The refresh button in the section header reads the settings from the device again.
The ? icon next to a setting explains what it does. You find the settings of each product on its page in the device catalogue.
If the device has no settings, the section shows “No settings available”.
Frequent settings
Section titled “Frequent settings”- Device Description: a text about the device, for example its location. The description shows in the reports.
- Cost per kWh: the energy price for this device. See Energy use and cost.
- Show map: for GPS trackers. It shows the map on the device page.
- Do not keep track of data: the platform does not keep a history of readings for the device.
Calibration
Section titled “Calibration”Calibration corrects a reading against a reference instrument. Use it when the device shows a slightly different value from a certified instrument.
- In the Settings section, click Advanced if necessary.
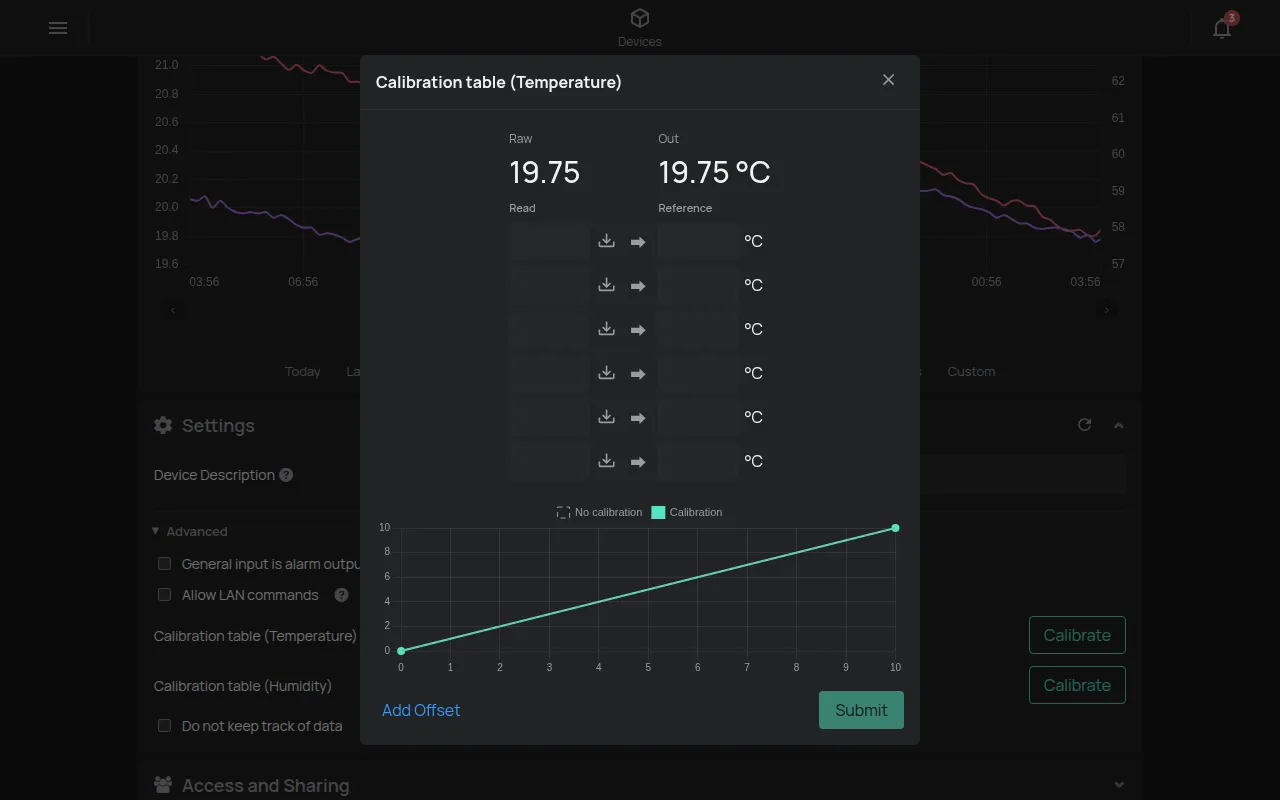
- Next to the Calibration table of the reading, click Calibrate.
- In the Read column, type the value of the device. The Use current button puts in the current value.
- In the Reference column, type the value of the reference instrument.
- For a fixed correction on all values, click Add Offset.
- Click Submit.
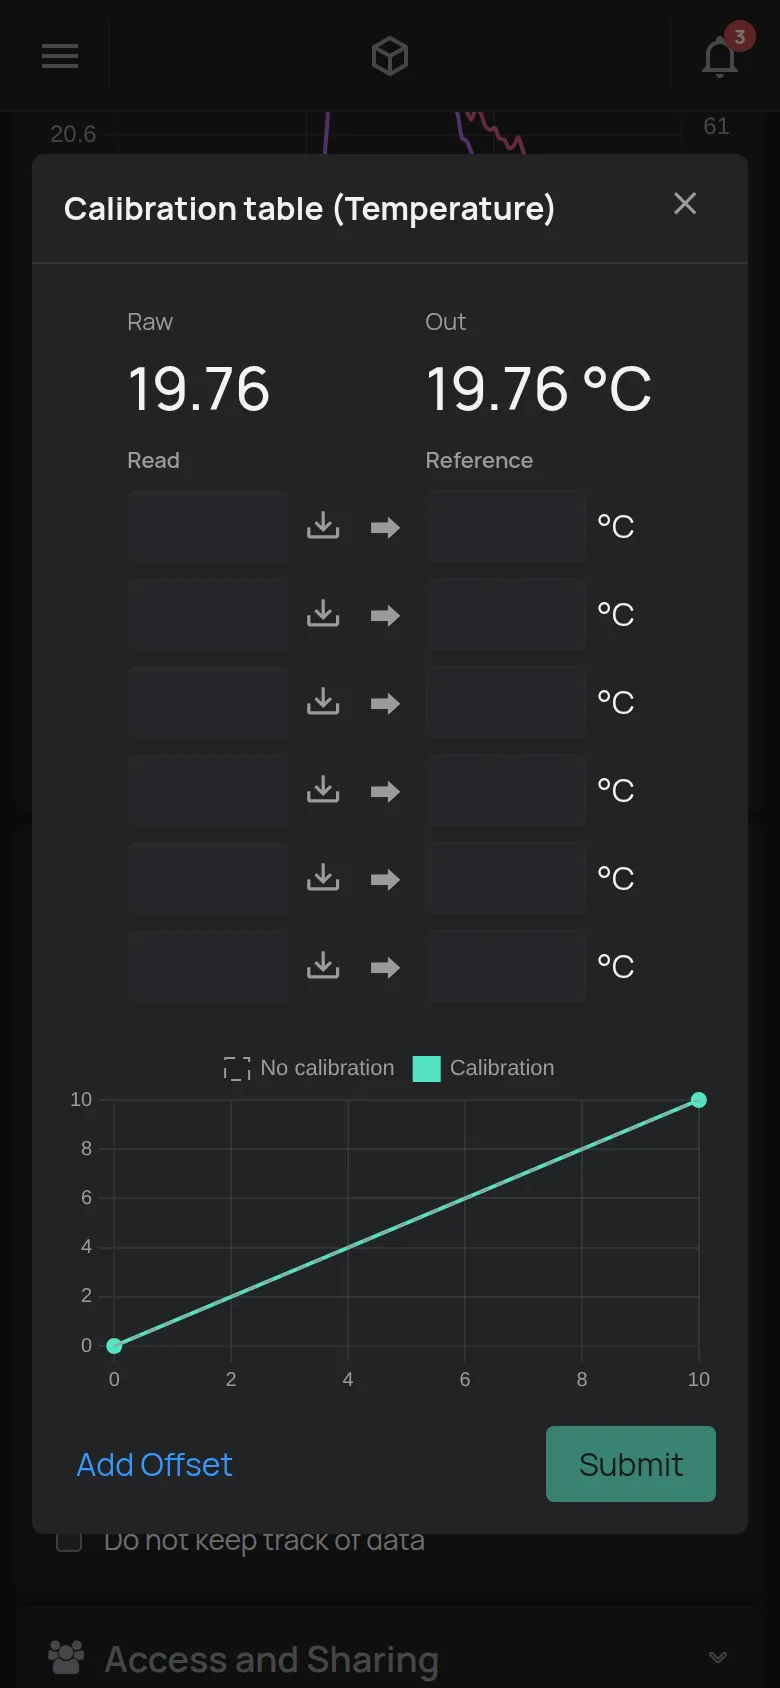
The window shows the raw value (Raw) and the corrected value (Out). The Clear button deletes a row of the table.
Tank setup
Section titled “Tank setup”Level sensors calculate the volume from the shape and the dimensions of the tank.
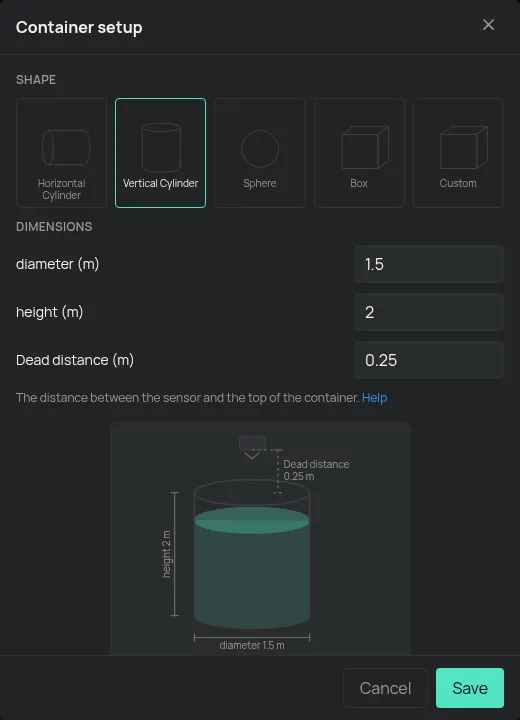
- In the Settings section, next to Container, click Set up.
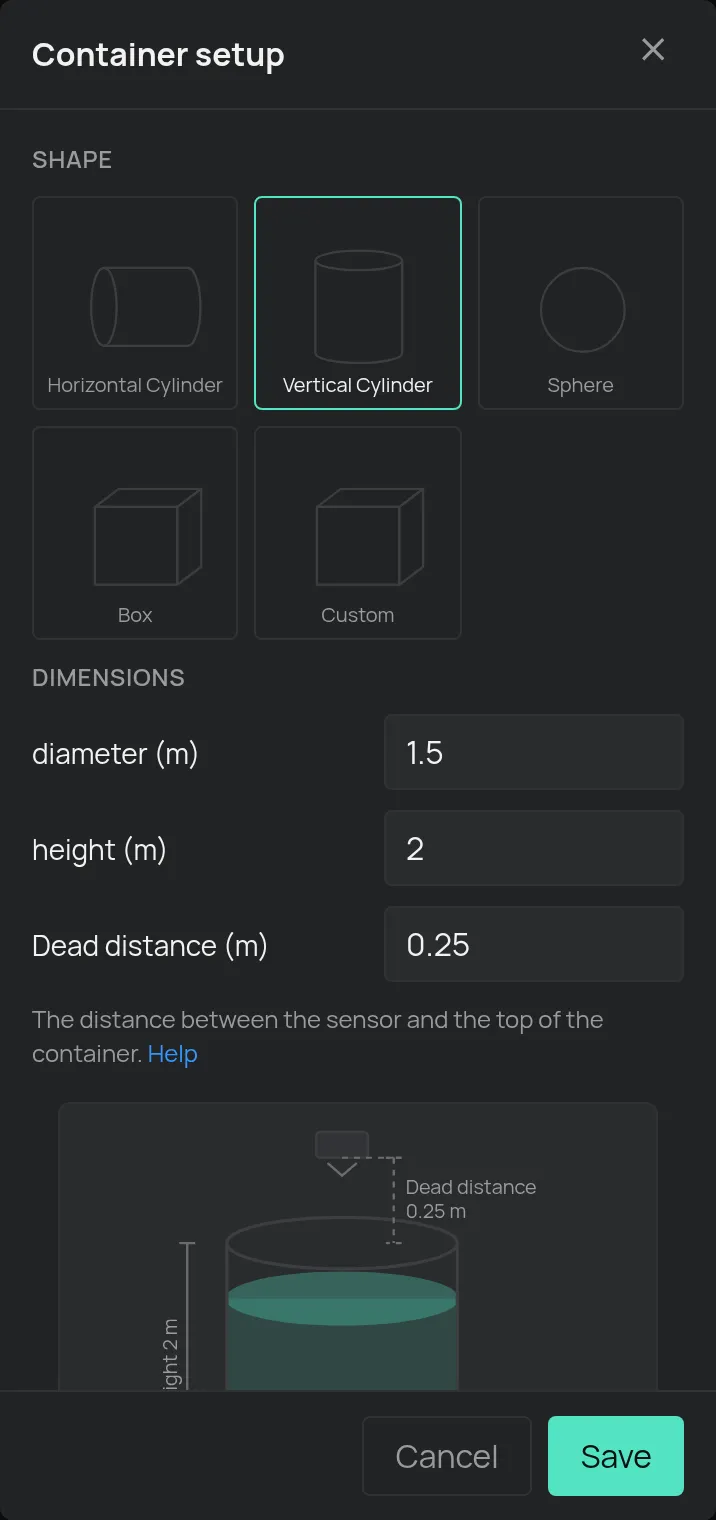
- Select the Shape, for example Horizontal Cylinder or Vertical Cylinder.
- Type the Dimensions in metres.
- Type the Dead distance: the distance from the sensor to the top of the tank.
- Click Save.
The window shows the Tank capacity. On DepthSenseS, the field is Sensor mounting offset. See the water products.
Other special settings
Section titled “Other special settings”- Remote setup (RemoteAC): click Set up to find the code of your air conditioner. See RemoteAC.
- Pulses: on some products you select what the input does, Energy meter or General input.
- Thermostat: you select the mode of each output and the source of the temperature. See Thermostat.
Output settings
Section titled “Output settings”The name, the auto turn-off and the PIN code of an output are not in this section. See output controls.