

Your first device, step by step
Connect a new device to WiFi, add it to your account and see the first readings. The steps apply to WiFi devices, such as the HAM ThermoSense, HAM DinMeter3P and HAM DinSwitchM.
Some devices do not need these steps. You add them only with the Device key:
- GPS trackers,
- Bluetooth (BLE) devices,
- devices that the installer already connected to WiFi.
For these devices, see Claim a device with its Device Key. For their installation, see Install a GPS tracker in a vehicle or Bluetooth (BLE) devices.
The video shows the full path on the phone, from the model choice to the claim.
What you need
Section titled “What you need”- A HAM account. See Create an account.
- The HAM app on your phone. See The mobile app.
- The name and password of your WiFi. The network must be 2.4 GHz.
- The device label with the Device key (D/K).
For the full check before you start, see Before you install.
1. Place and power the device
Section titled “1. Place and power the device”-
Find the label with the Device key. Take a photo of it or keep it in a safe place.
-
Put the device where it will stay. If it measures with a probe, put the probe in place too.
-
Connect the power.
Do the WiFi setup at the point where the device will stay. If you set it up at the office and move it later, the WiFi signal may not reach the new point. For probes and wiring, see Probe placement and wiring.
2. Open the setup wizard on the phone
Section titled “2. Open the setup wizard on the phone”-
Connect your phone to the same WiFi that the device will use.
-
Open the HAM app.
-
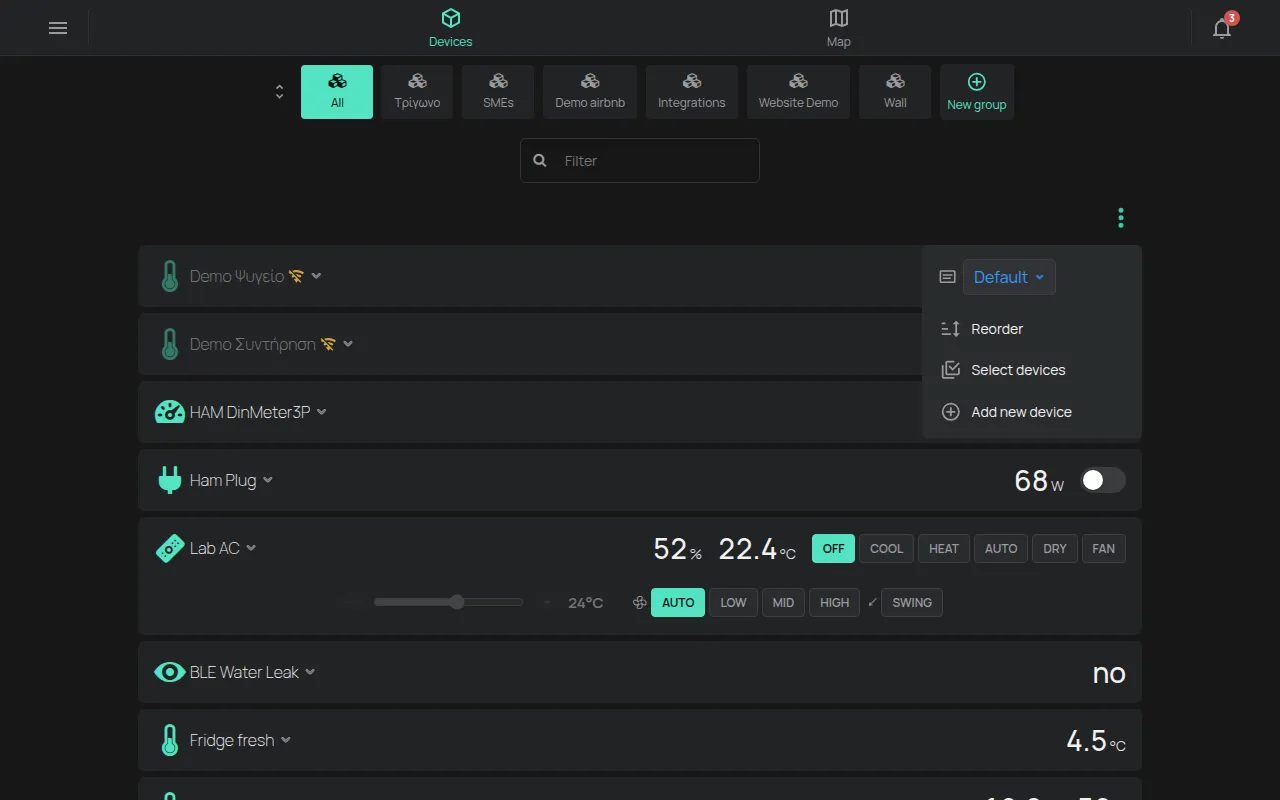
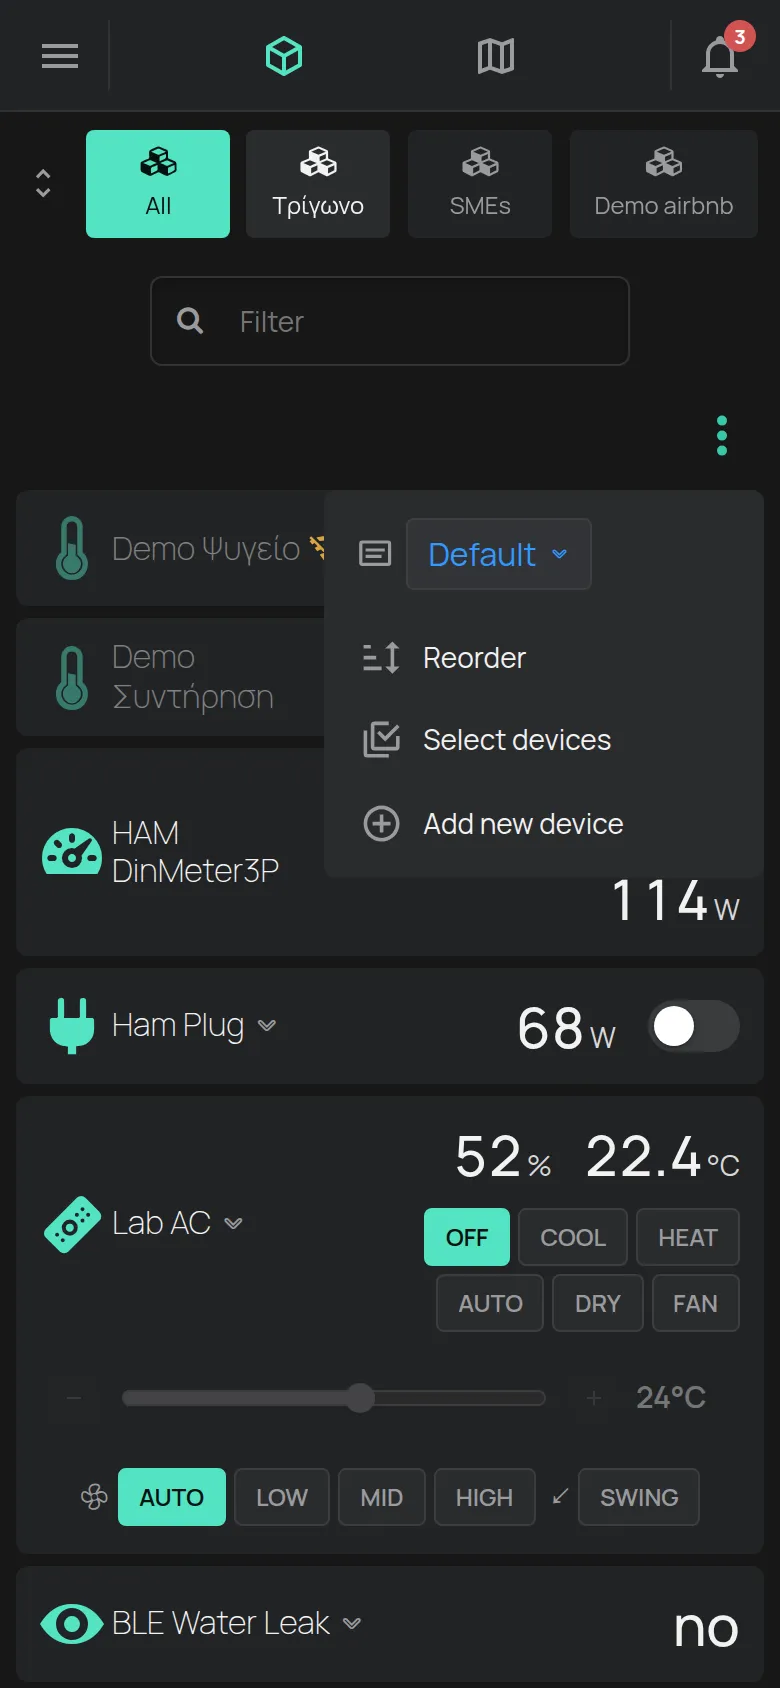
In the Devices list, tap the ⋮ menu (Tools).
-
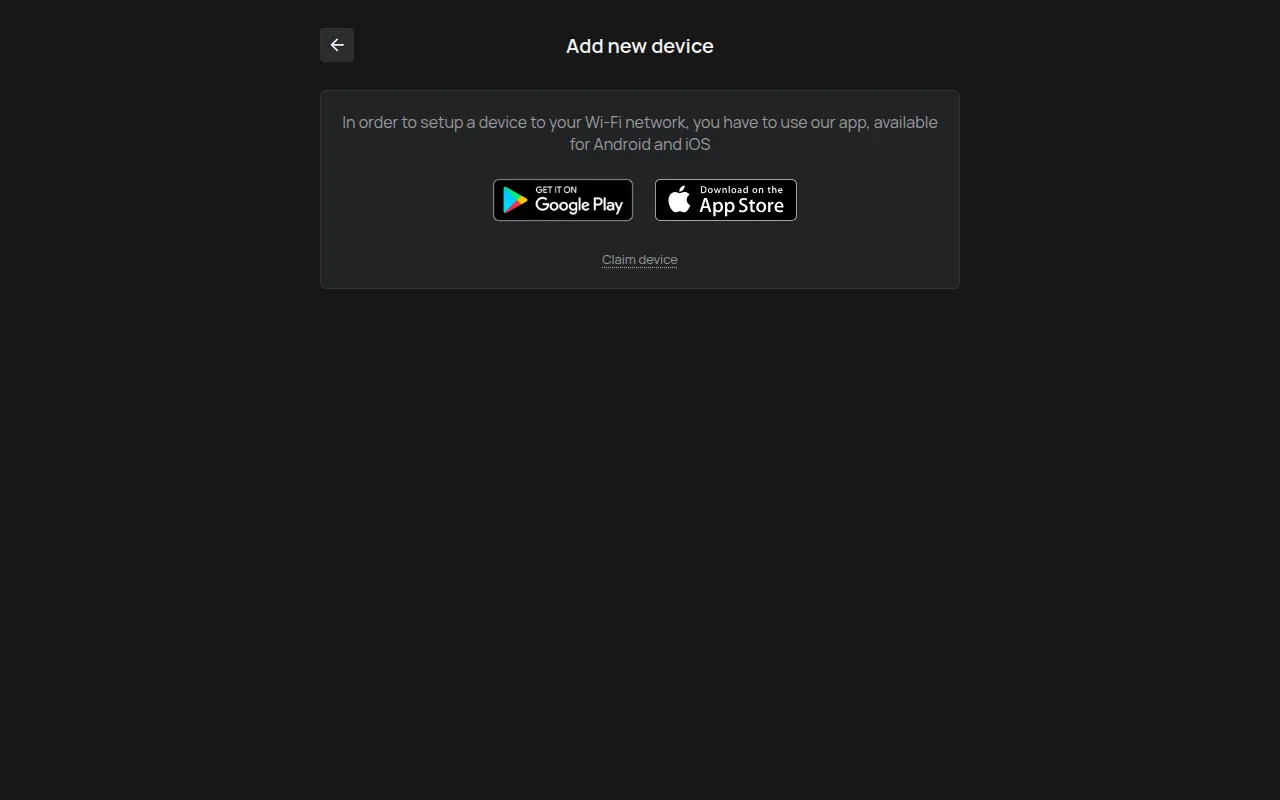
Tap Add new device.
3. Send the WiFi details to the device
Section titled “3. Send the WiFi details to the device”-
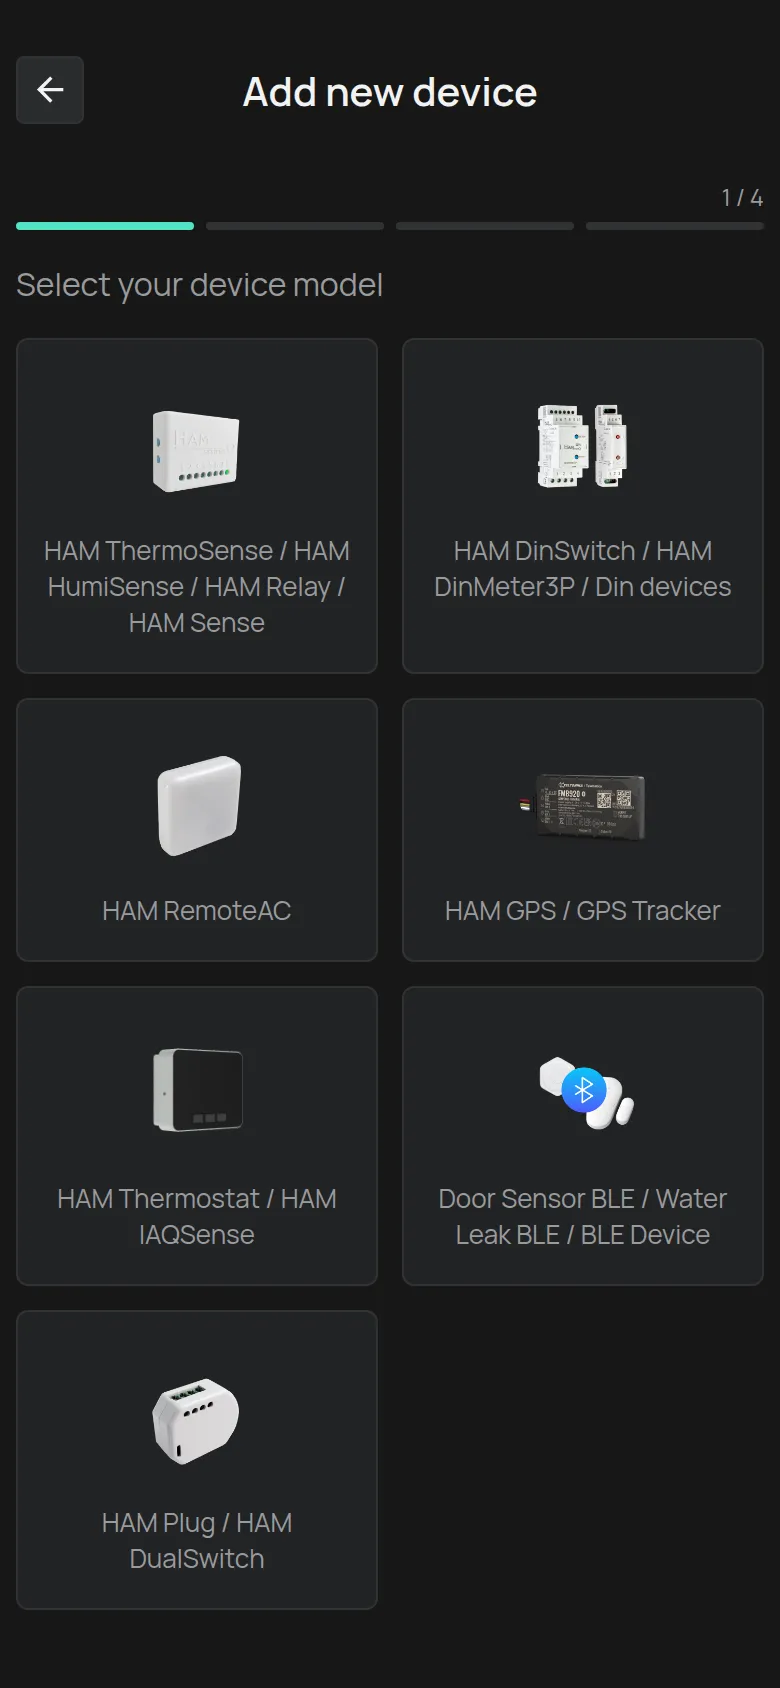
Select your device model in the Select your device model list.
-
Select your network in WiFi network and type the Password.
-
Tap Next.
-
Put the device in setup mode, as the screen tells you. For example, press and hold the setup button until the LED blinks.
-
Tap Next.
The app sends the details to the device. The LED stops blinking when the device receives them.
The steps in full detail are on Connect a device to WiFi.
4. Check the LED
Section titled “4. Check the LED”The app asks what the device LED does: fully on, fully off or blinking.
- fully on: the device is connected to the internet. Continue to step 5.
- fully off: the device received the details but cannot connect. Usually the WiFi password is wrong. Tap Back and type it again.
- blinking: the device did not receive the details. Tap Send to send them again.
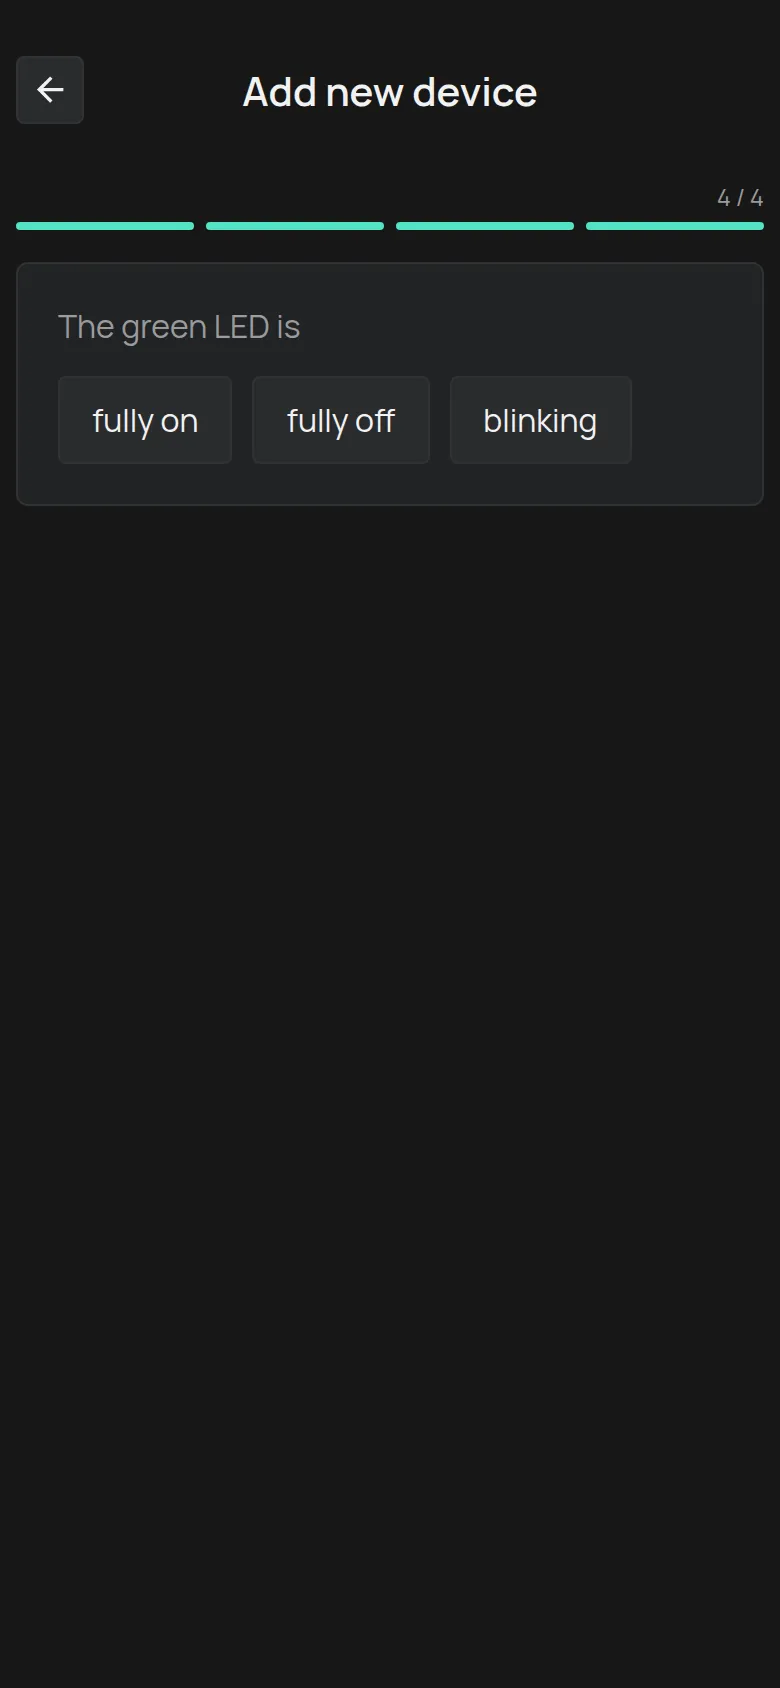
The meaning of the LED is different between models. See What the LED colours mean.
5. Claim the device on your account
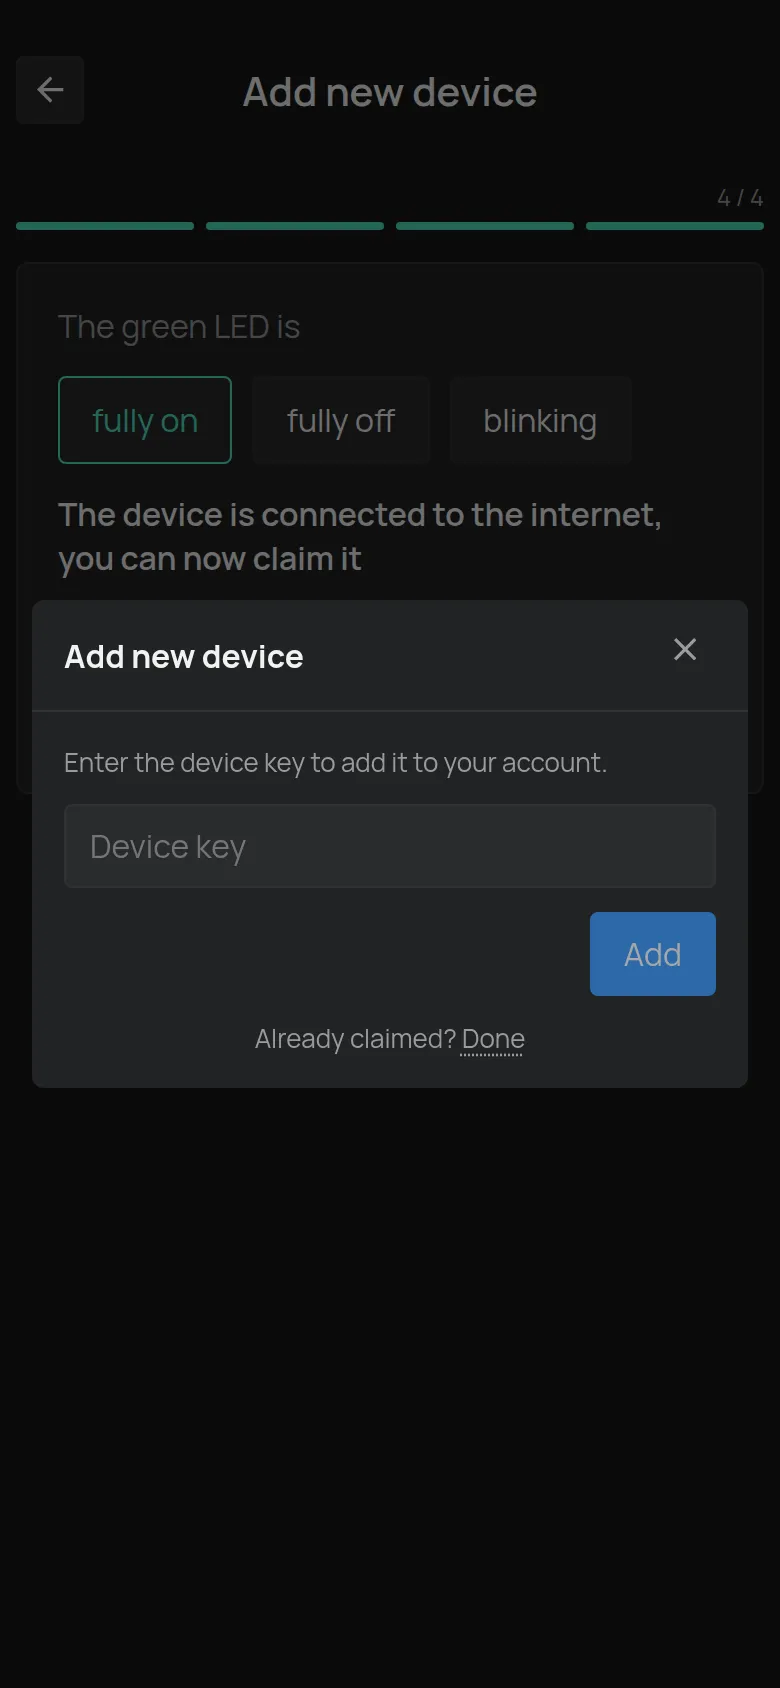
Section titled “5. Claim the device on your account”-
Tap Claim device.
-
Type the Device key from the label.
-
Tap Add.
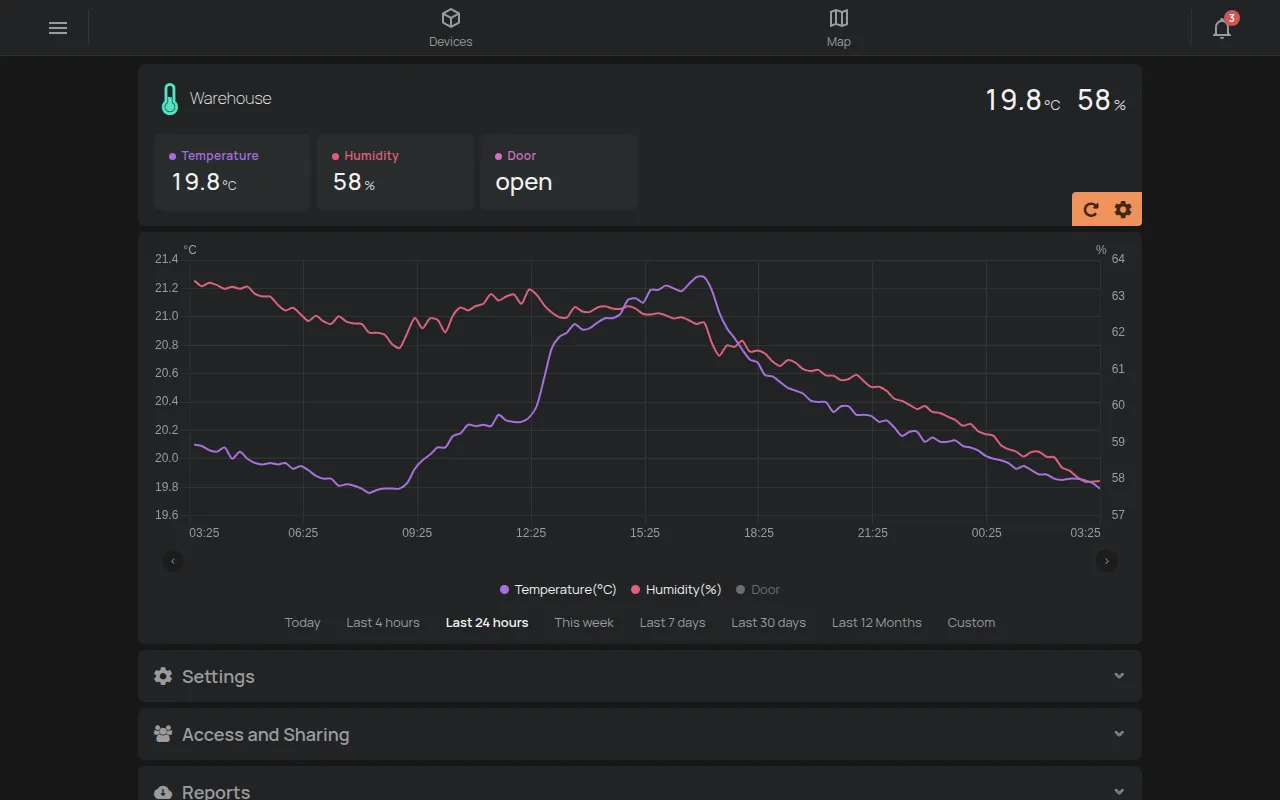
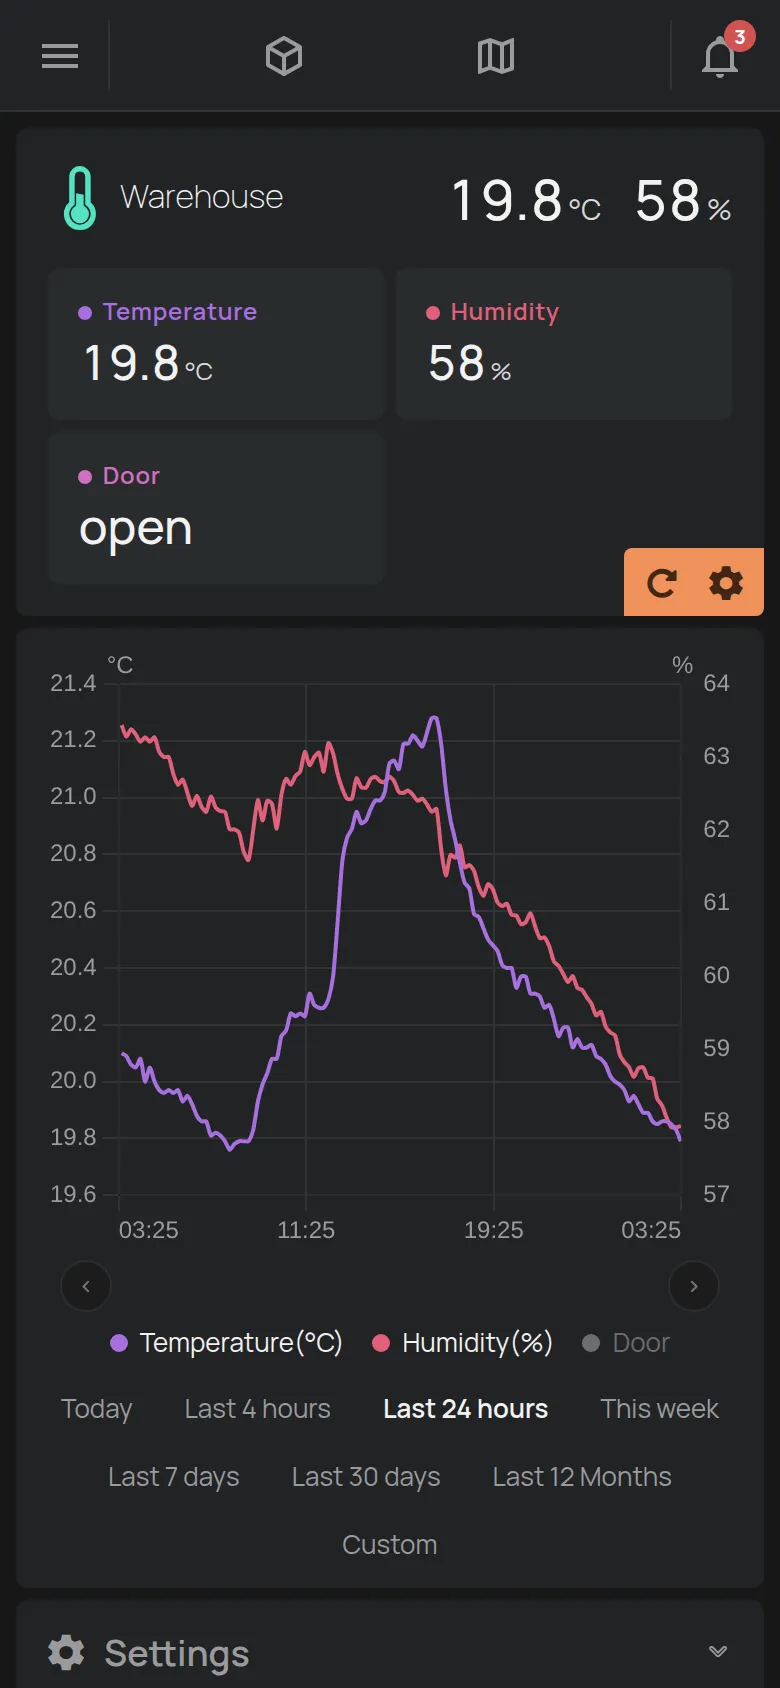
The app opens the page of the new device. The first readings show after a short time. If you see an error message, see Claim a device with its Device Key.
6. Give the device a name
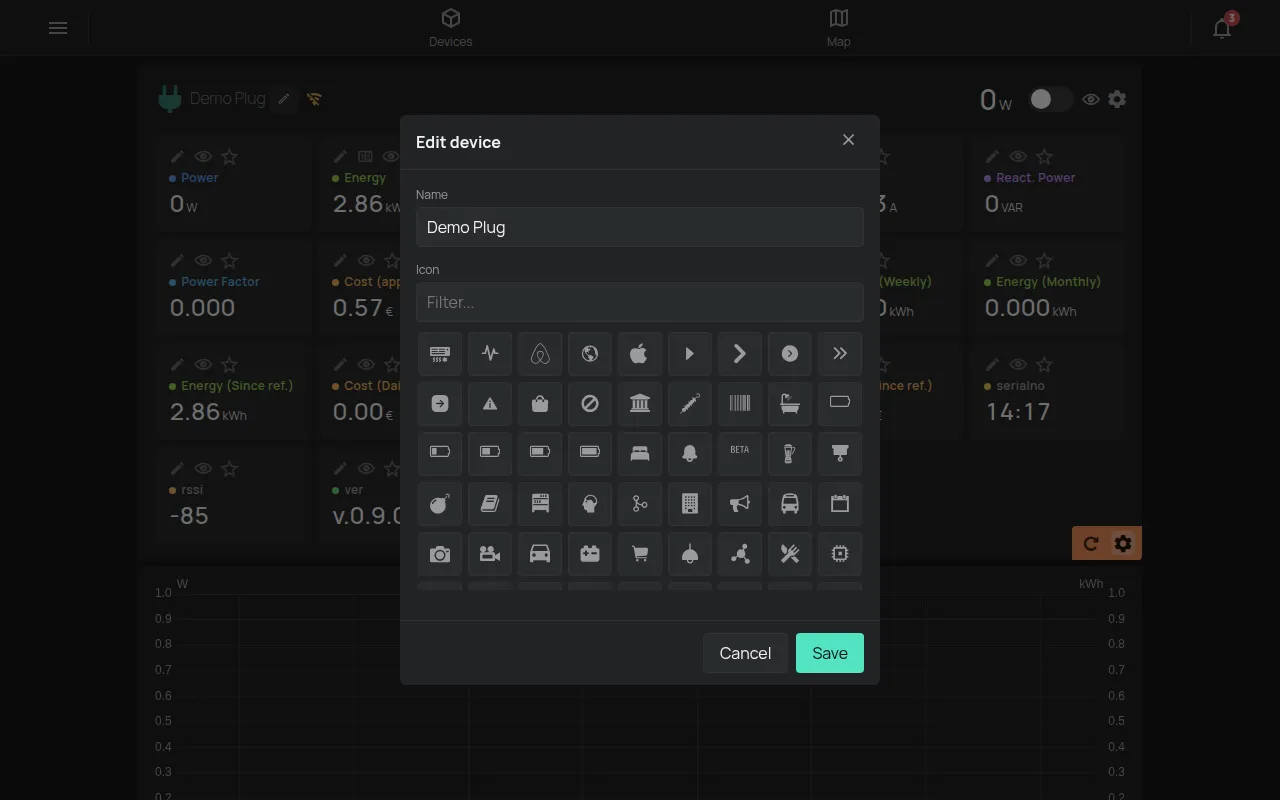
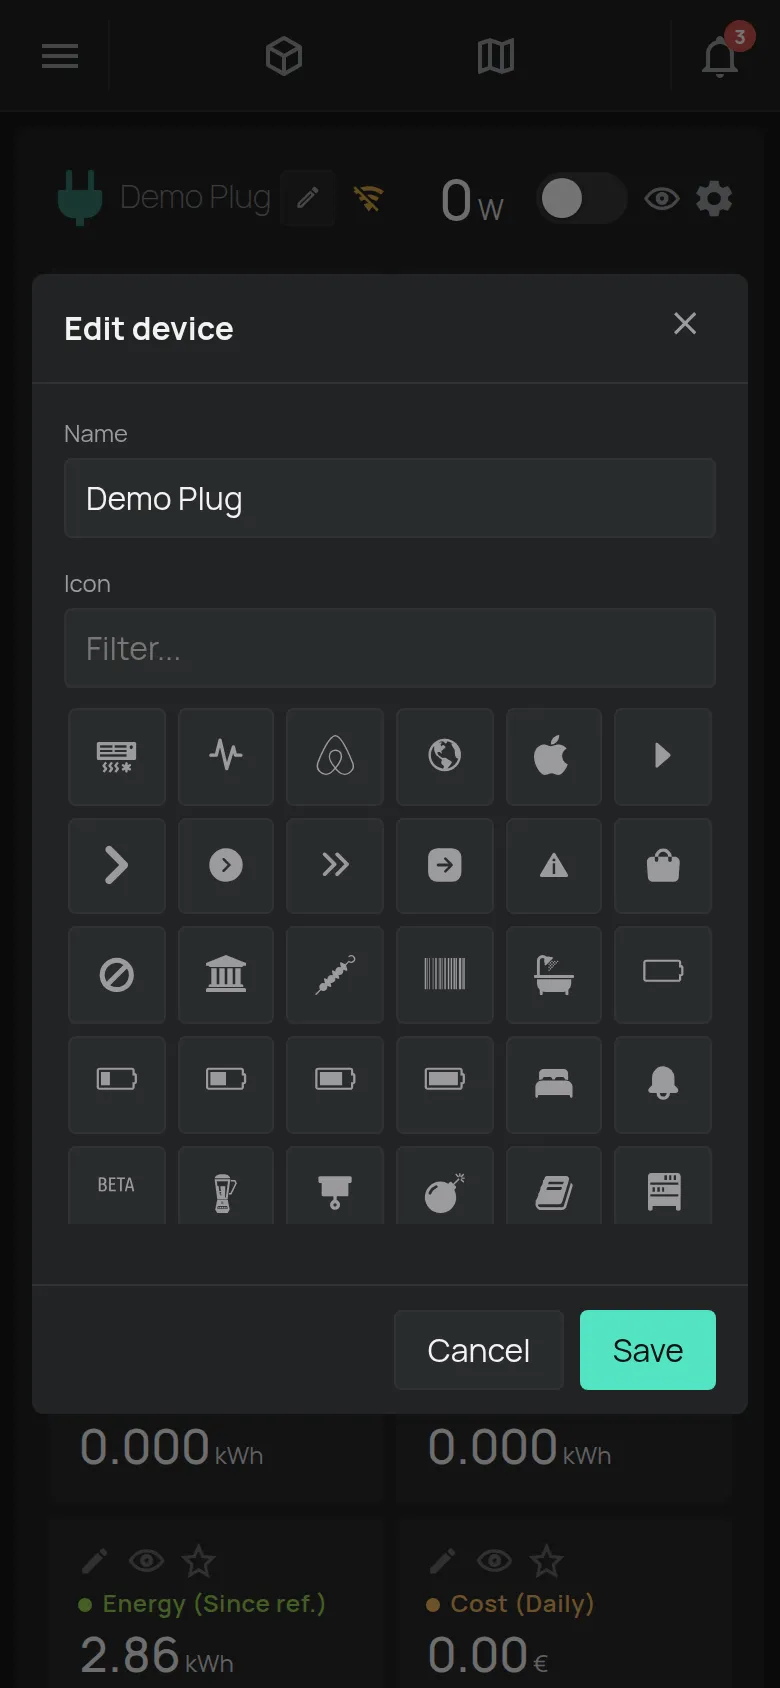
Section titled “6. Give the device a name”The new device shows with its serial number, for example t5:123. Give it a name that tells where it is, for example “Kitchen fridge”.
-
On the device page, tap the Edit cog.
-
Tap the pencil next to the device name.
-
Type the Name. The name has up to 32 characters.
-
Tap Save.
7. Set your first alert
Section titled “7. Set your first alert”The device measures now, but it does not alert you yet. See Your first alert to get an alert when, for example, a fridge gets warm or the device goes offline.
If the setup does not complete
Section titled “If the setup does not complete”- The app does not send the details to the device: see Connect through the device hotspot.
- The device does not connect to WiFi: see The WiFi connection fails.
- The message says the device belongs to someone else: see The device belongs to another account.